NFS: LXC Permissions Issue (Synology)
This article pertains to vzdump backups and is here for archiving. I have a chapter on Proxmox Backup Server here.
The Issue
INFO: starting new backup job: vzdump 204 --remove 0 --compress zstd --mode snapshot --storage Backups --notes-template '{{node}} - {{vmid}} - {{guestname}}' --node proxmox-g4
INFO: Starting Backup of VM 204 (lxc)
INFO: Backup started at 2023-01-20 05:49:59
INFO: status = stopped
INFO: backup mode: stop
INFO: ionice priority: 7
INFO: CT Name: nessus
INFO: including mount point rootfs ('/') in backup
INFO: creating vzdump archive '/rackdrives/Backups/dump/vzdump-lxc-204-2023_01_20-05_49_59.tar.zst'
ERROR: Backup of VM 204 failed - command 'set -o pipefail && lxc-usernsexec -m u:0:100000:65536 -m g:0:100000:65536 -- tar cpf - --totals --one-file-system -p --sparse --numeric-owner --acls --xattrs '--xattrs-include=user.*' '--xattrs-include=security.capability' '--warning=no-file-ignored' '--warning=no-xattr-write' --one-file-system '--warning=no-file-ignored' '--directory=/rackdrives/Backups/vzdumptmp123822_204/' ./etc/vzdump/pct.conf ./etc/vzdump/pct.fw '--directory=/mnt/vzsnap0' --no-anchored '--exclude=lost+found' --anchored '--exclude=./tmp/?*' '--exclude=./var/tmp/?*' '--exclude=./var/run/?*.pid' ./ | zstd --rsyncable '--threads=1' >/rackdrives/Backups/dump/vzdump-lxc-204-2023_01_20-05_49_59.tar.dat' failed: interrupted by signal
INFO: Failed at 2023-01-20 05:50:44
INFO: Backup job finished with errors
TASK ERROR: job errors
In /etc/vzdump.conf, if no temp directory is specified, the backup agent will attempt to use the NFS share and create a temp directory to backup files and write the final backup to the root of the NFS share.
When VMs are being backed up, the backup job is running under the root user context. However, when LXC (Linux Containers) are being backed up, the backup jobs are being mapped to a non-privileged user namespace. This unprivileged user ID will conflict with the permissions on the NFS share, since it was mapped by root.
Failing command:
set -o pipefail && lxc-usernsexec -m u:0:100000:65536 -m g:0:100000:65536 ...Checking out lxc-usernsexec
man lxc-usernsexeclxc-usernsexec(1) lxc-usernsexec(1)
NAME
lxc-usernsexec - Run a task as root in a new user namespace.
SYNOPSIS
lxc-usernsexec [-m uid-map] {-- command}
DESCRIPTION
lxc-usernsexec can be used to run a task as root in a new user namespace.
OPTIONS
-m uid-map
The uid map to use in the user namespace. Each map consists of four colon-separate values. First a character 'u', 'g' or 'b' to specify whether this
map pertains to user ids, group ids, or both; next the first userid in the user namespace; next the first userid as seen on the host; and finally the
number of ids to be mapped.
More than one map can be specified. If no map is specified, then by default the full uid and gid ranges granted by /etc/subuid and /etc/subgid will be
mapped to the uids and gids starting at 0 in the container.
Note that lxc-usernsexec always tries to setuid and setgid to 0 in the namespace. Therefore uid 0 in the namespace must be mapped.
EXAMPLES
To spawn a shell with the full allotted subuids mapped into the container, use
lxc-usernsexec
To run a different shell than /bin/sh, use
lxc-usernsexec -- /bin/bash
If your user id is 1000, root in a container is mapped to 190000, and you wish to chown a file you own to root in the container, you can use:
lxc-usernsexec -m b:0:1000:1 -m b:1:190000:1 -- /bin/chown 1:1 $file
This maps your userid to root in the user namespace, and 190000 to uid 1. Since root in the user namespace is privileged over all userids mapped into the
namespace, you are allowed to change the file ownership, which you could not do on the host using a simple chown.Example NFS Share Permissions
And, according to https://kb.synology.com/en-ph/DSM/help/DSM/AdminCenter/file_share_privilege_nfs?version=7:
- No mapping: Allows all users of NFS client, including root users, to maintain original access privileges.
Squash Options
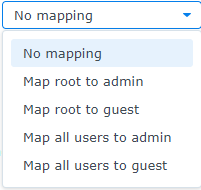
- Map root to admin: Assigns access privileges to root users of NFS client equivalent to the admin user access privileges on your system.
- Map root to guest: Assigns access privileges to root users of NFS client equivalent to the guest access privileges on your system.
- Map all users to admin: Assigns access privileges to all users of NFS client equivalent to the admin user access privileges on your system.
- Map all users to guest: Assigns access privileges to all users of NFS client equivalent to the guest access privileges on your system.
Mapping root to admin would work for VMs, because the backup job would be running in the root user context. This would not work for Linux containers, due to namespaces (meaning the backup user is not root).
Solution 1: Authenticated Mount
Create the User Account
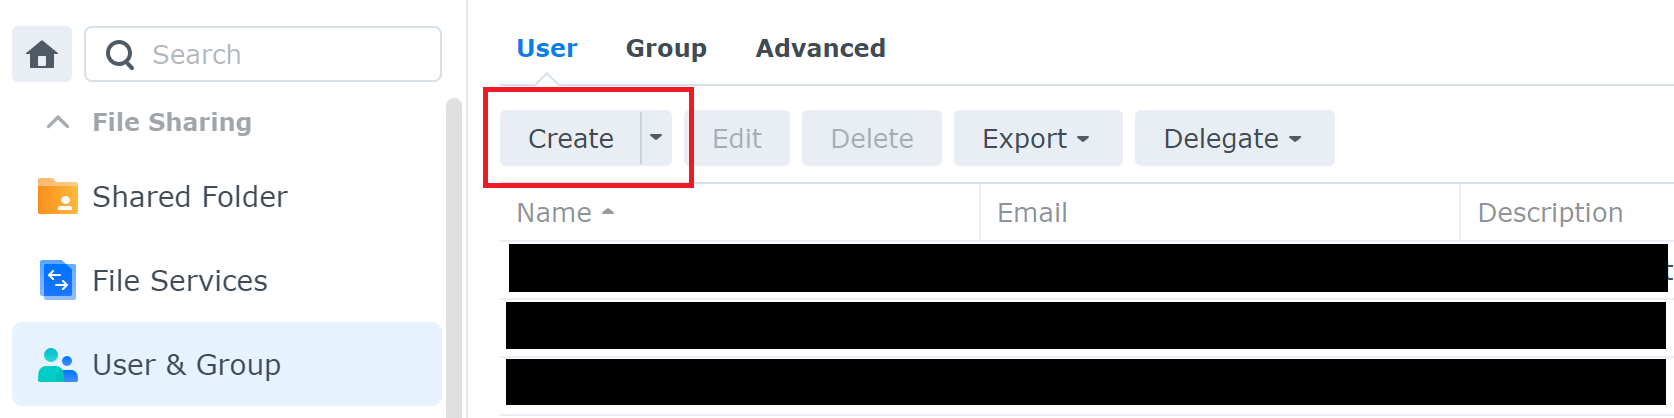
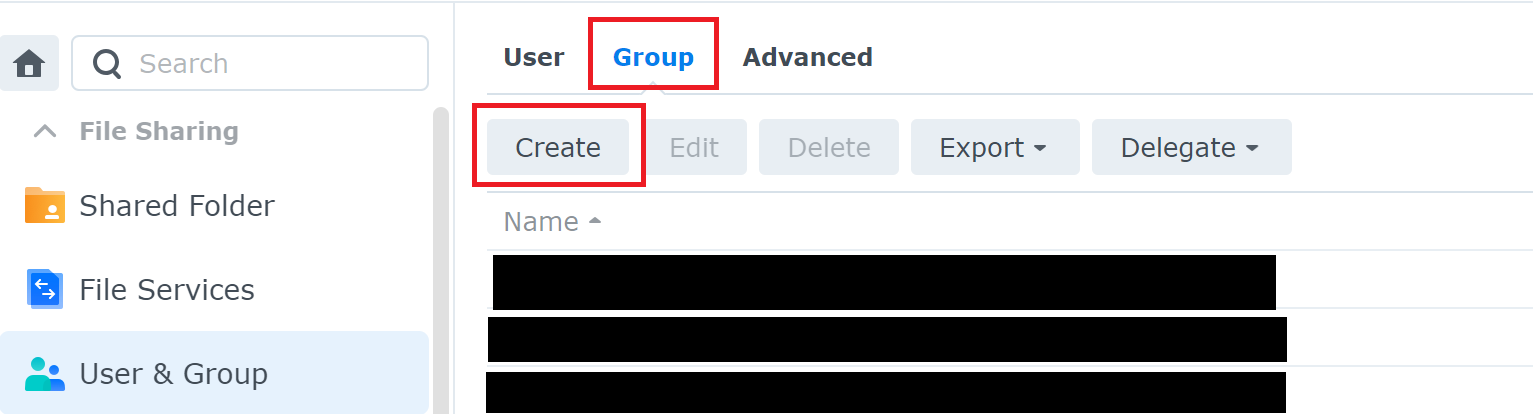
Log into Synology, go to Control Panel, go to User & Group, click on User, and click Create
Create a new user
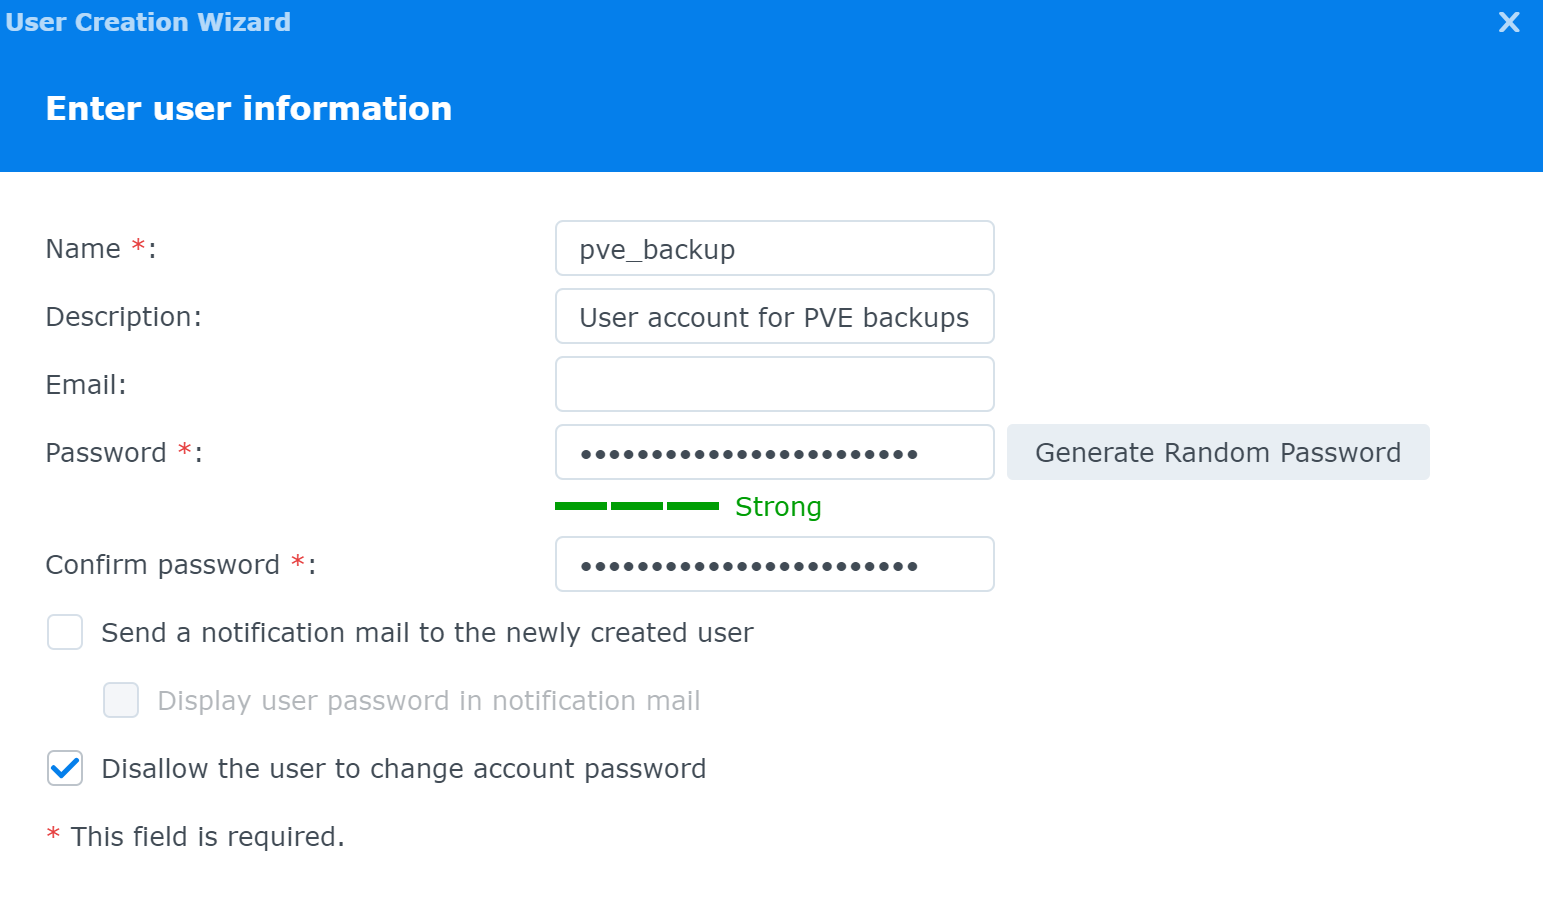
Fill out the form accordingly

Use the default group selection
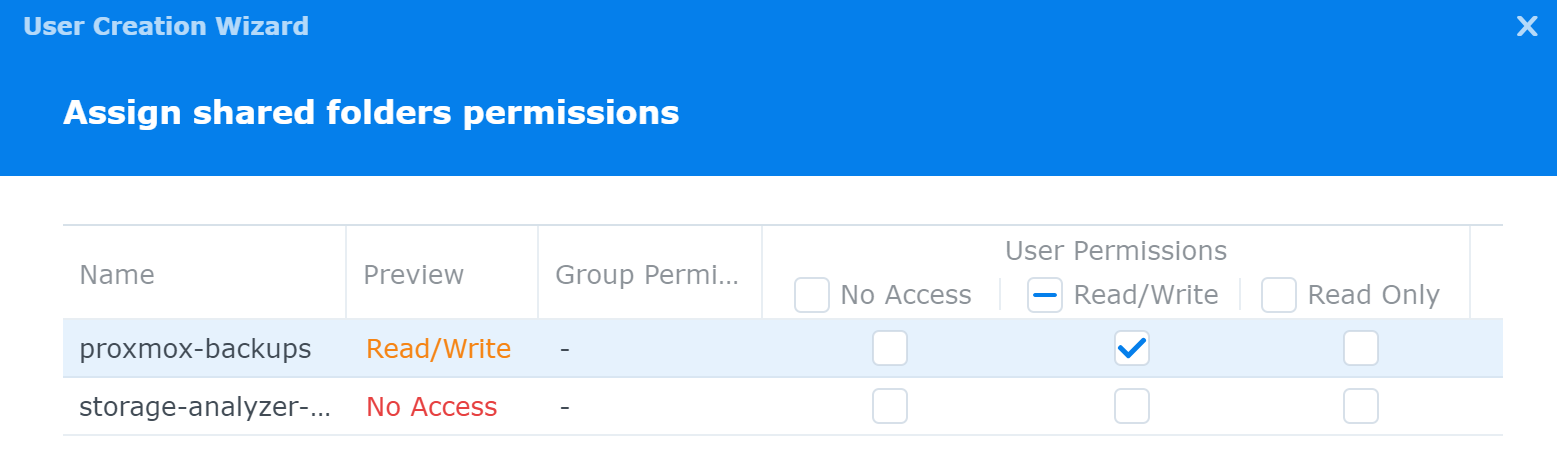
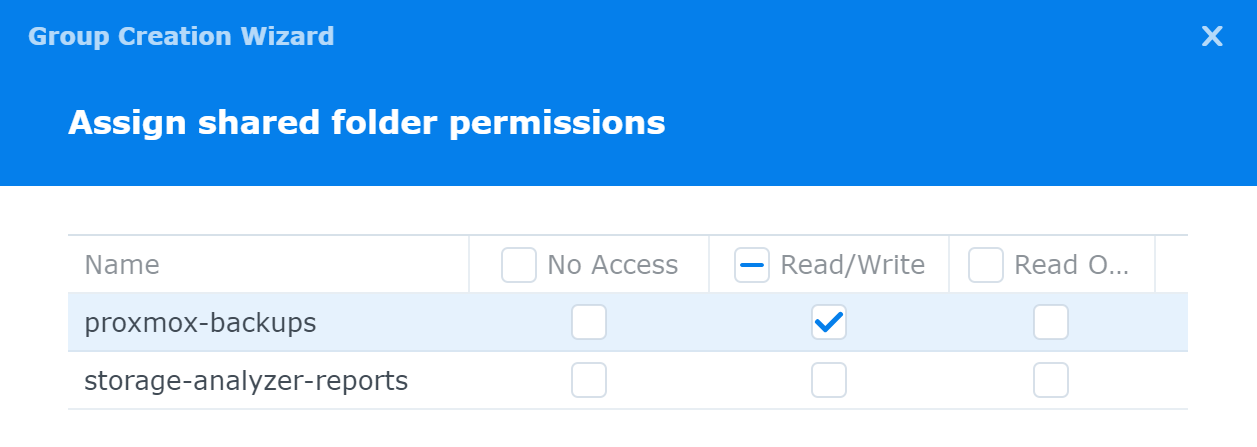
If you've got a shared folder for backups, go ahead and give the account read-write permissions now
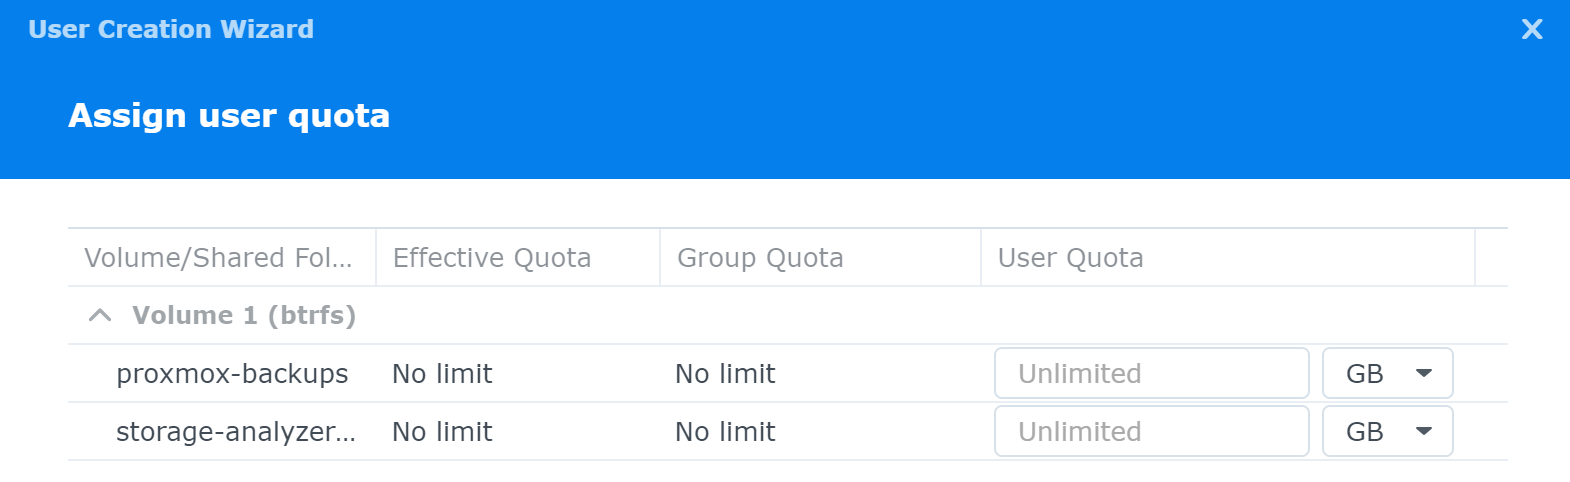
Define a quota if you wish, or use the defaults
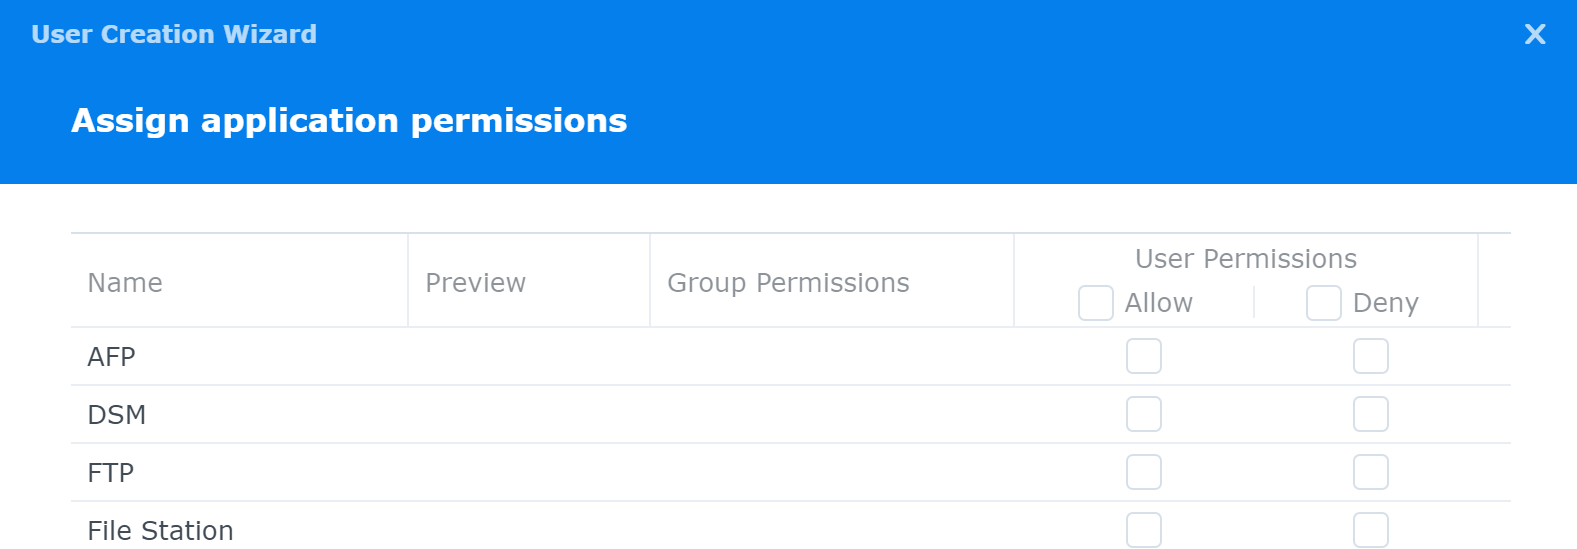
Do not provide any application permissions
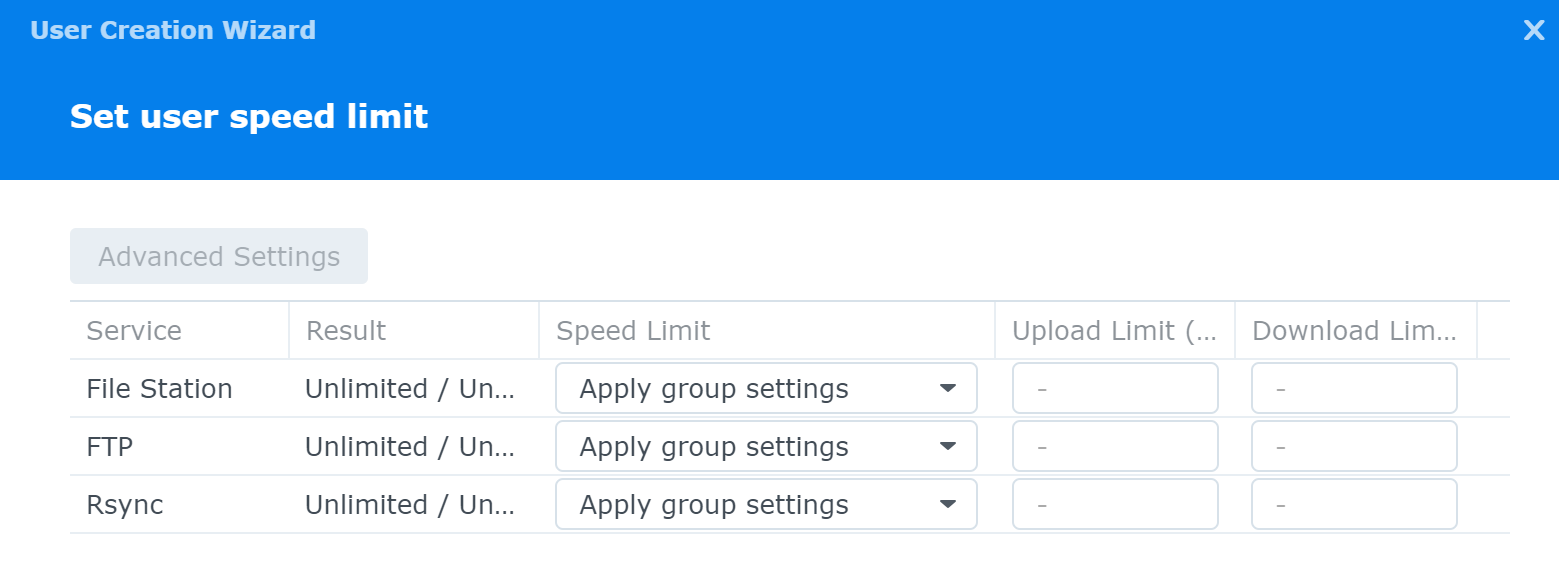
Use the defaults here
Check your settings and click Confirm
Create the Group
Create a new group
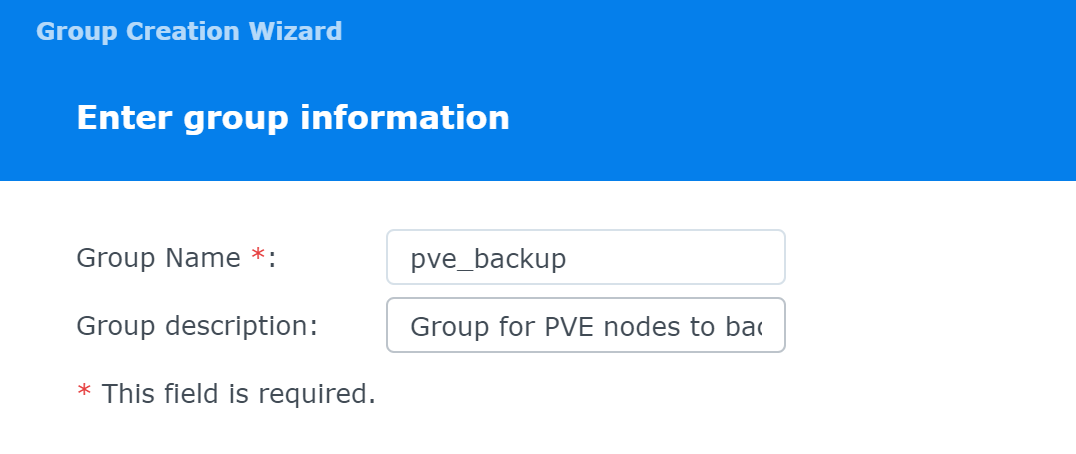
Group Name: pve_backup
Group description: Group for PVE nodes to backup guest files
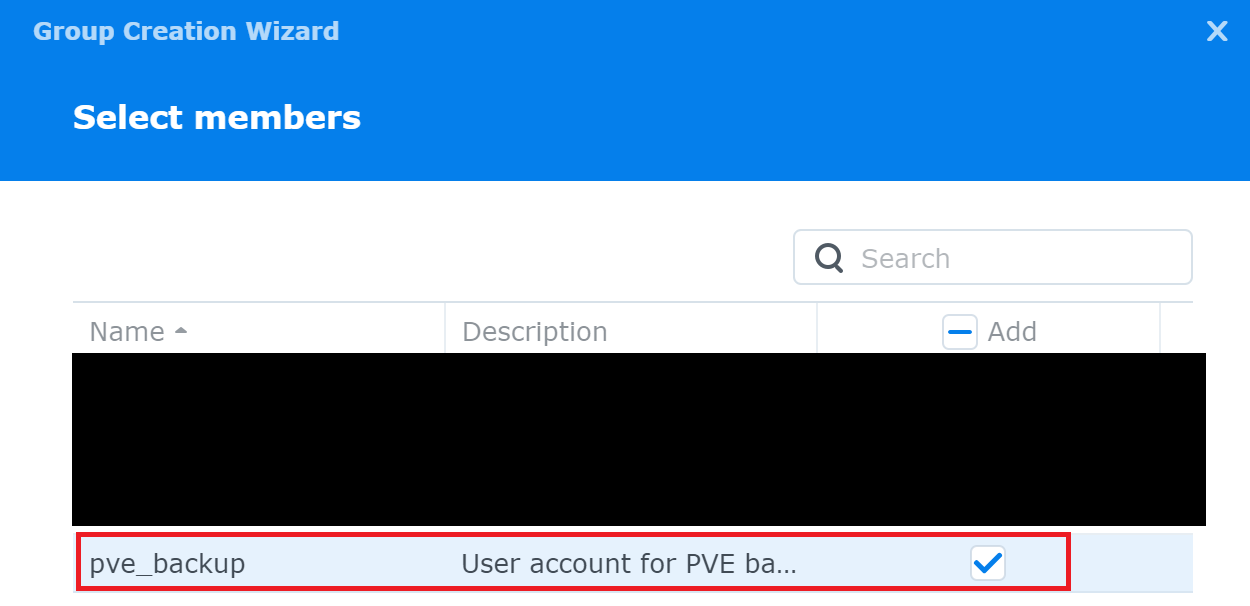
Add your newly created account to the group
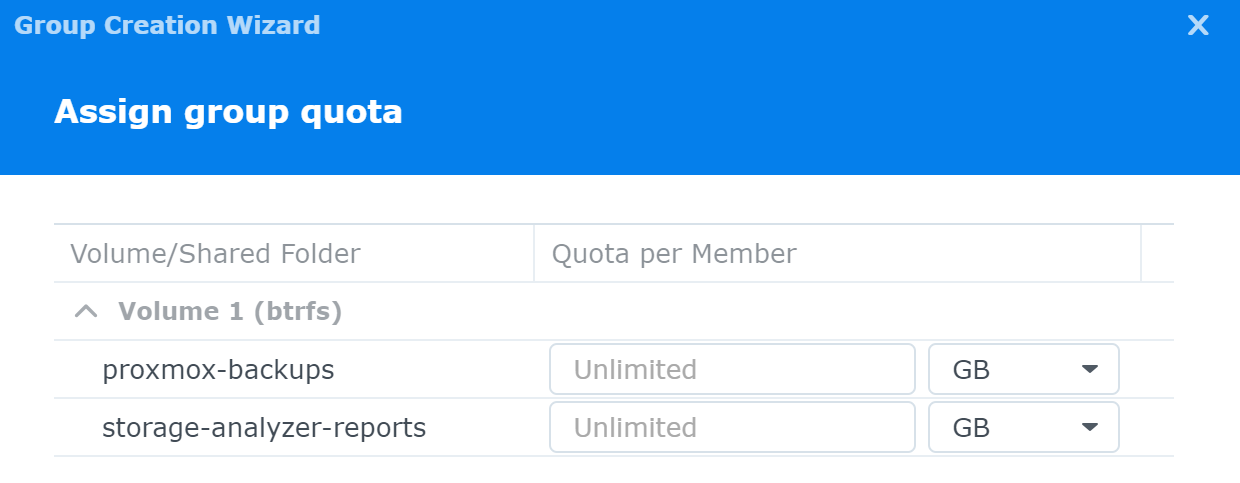
Define any quotas or use the defaults

Do not assign any application permissions
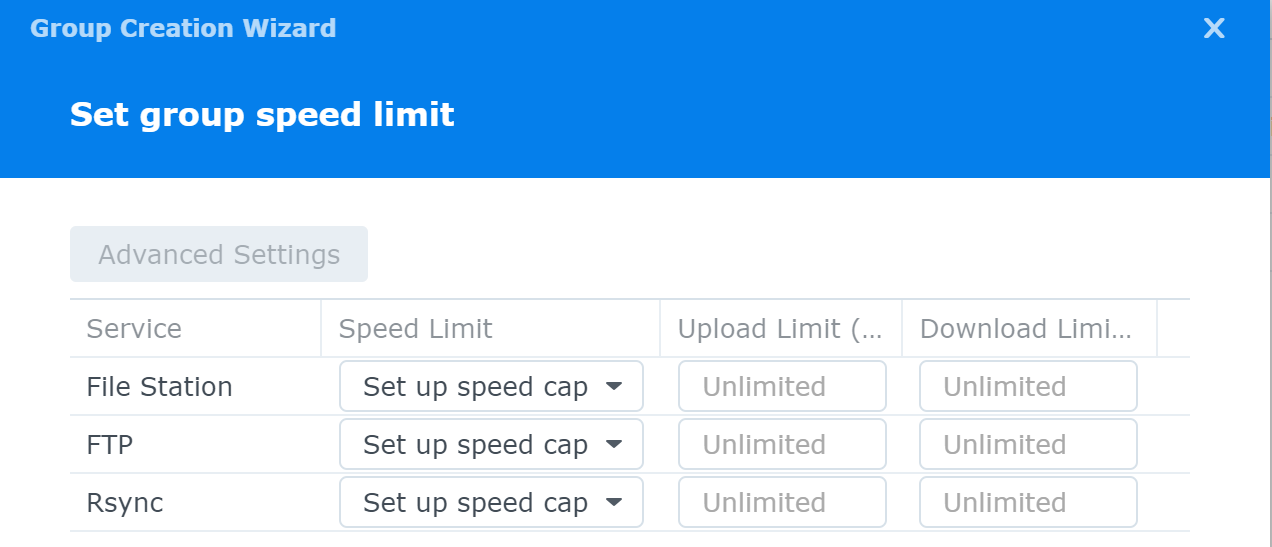
Use the default settings here
Review the settings and click Confirm
Map the Share
Log into Proxmox Virtual Environment and go to Datacenter > Storage > Add
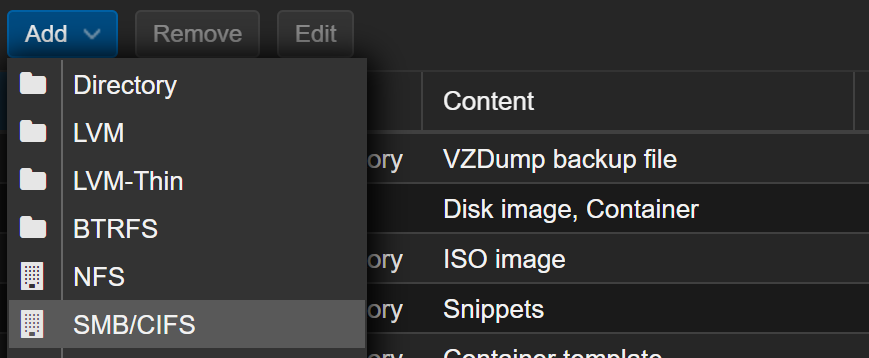
Add SMB / CIFS
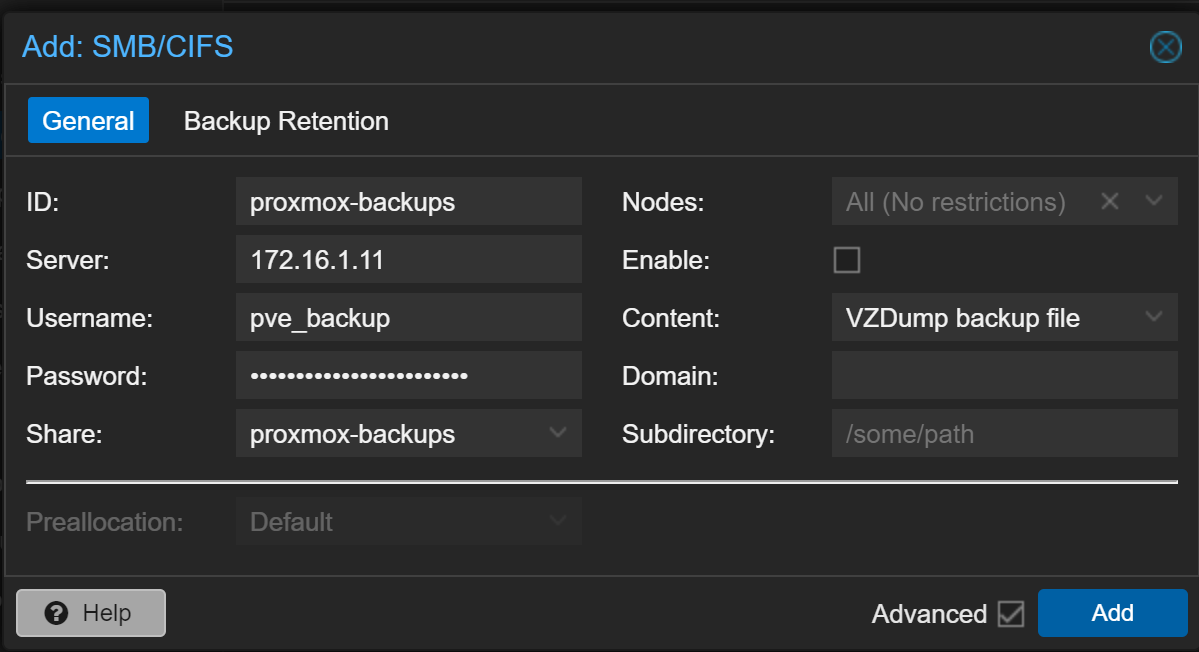
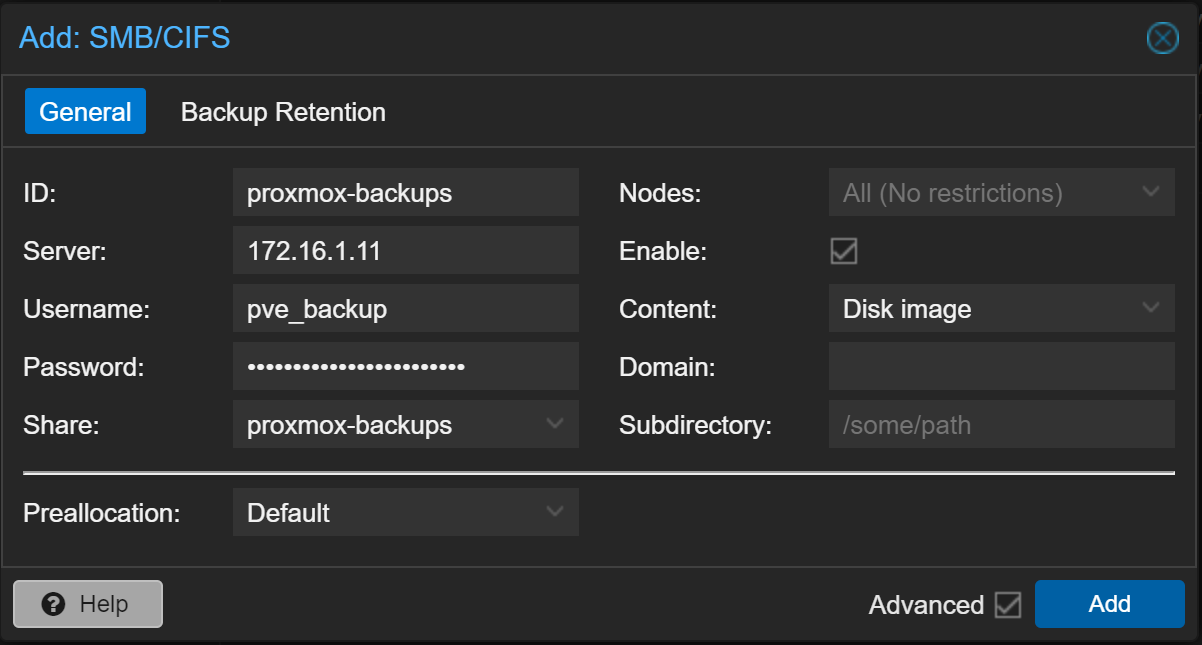
Fill out the form and click Backup Retention
- ID: Unique value to PVE, but I'll use the folder name from my NAS
- Server: The NAS IP or FQDN
- Username: Username that we just created
- Password: You defined this when creating the user
- Share: The folder name on the NAS
- Nodes: Default is to map on all nodes
- Content: VZDump backup file
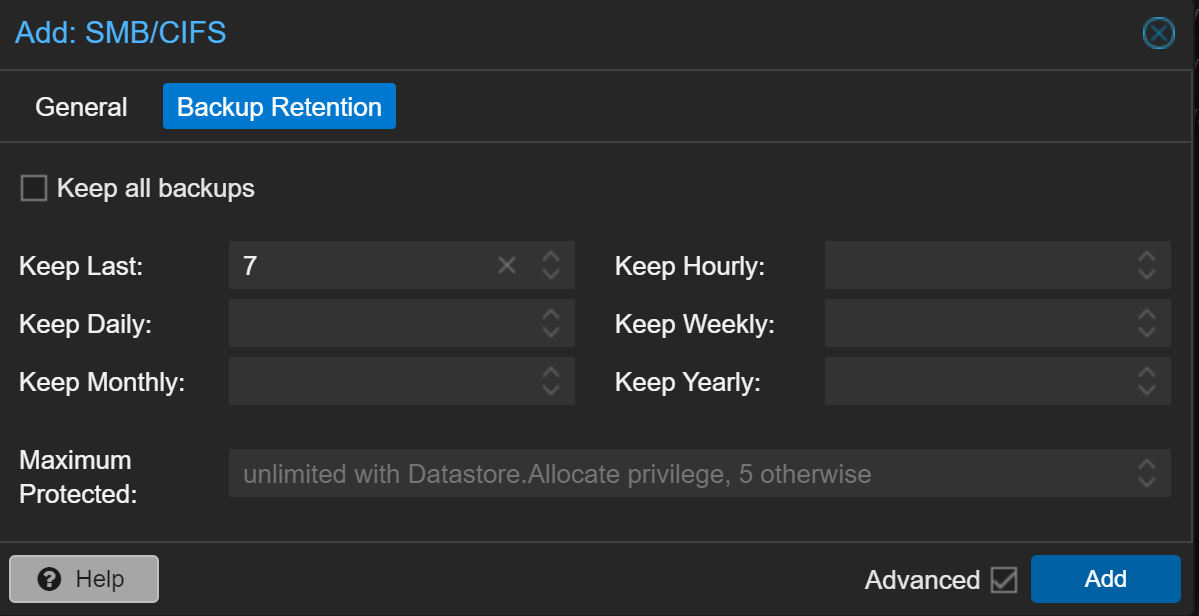
Select your Backup Retention policy and click Add
Test Backups
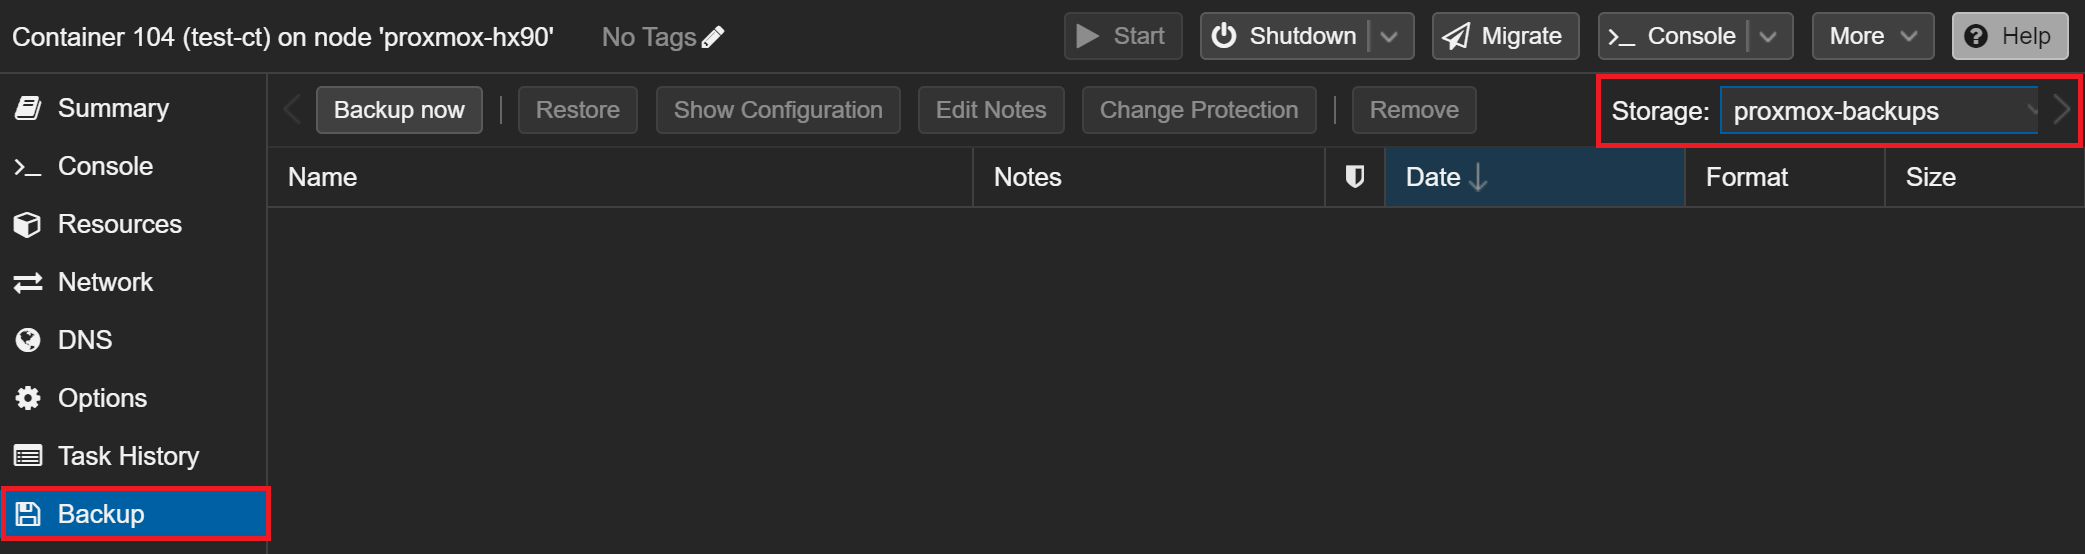
Here's my test container on one of my PVE nodes
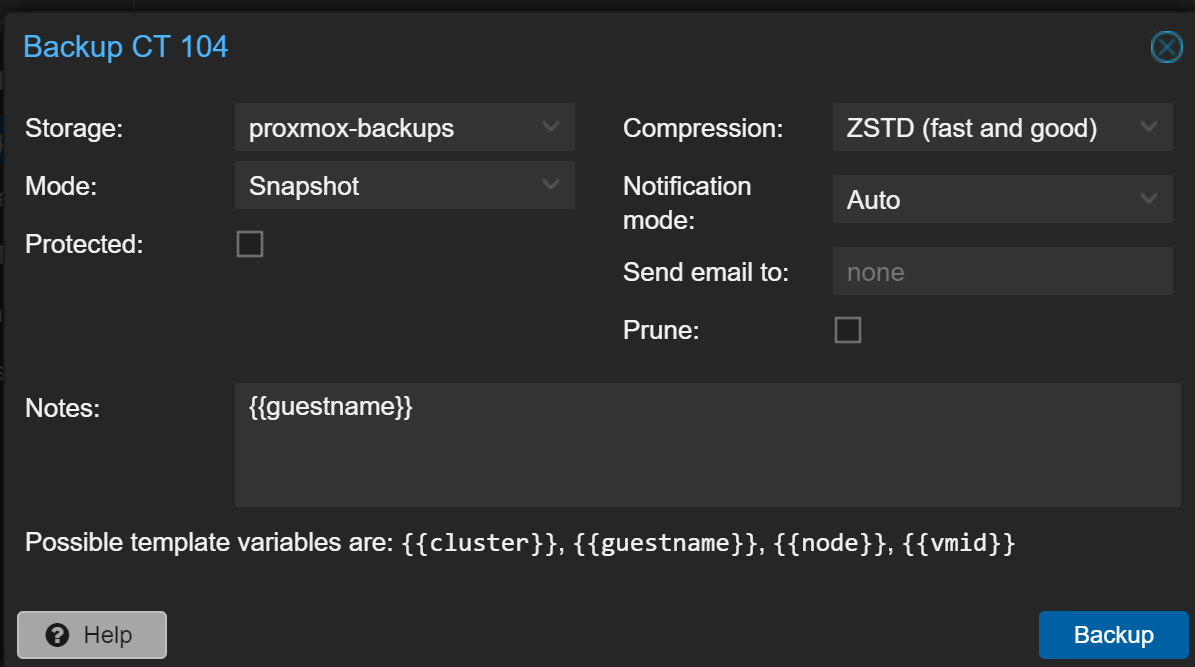
Click Backup now in the top bar. This is a test, so I'll just use the default values.
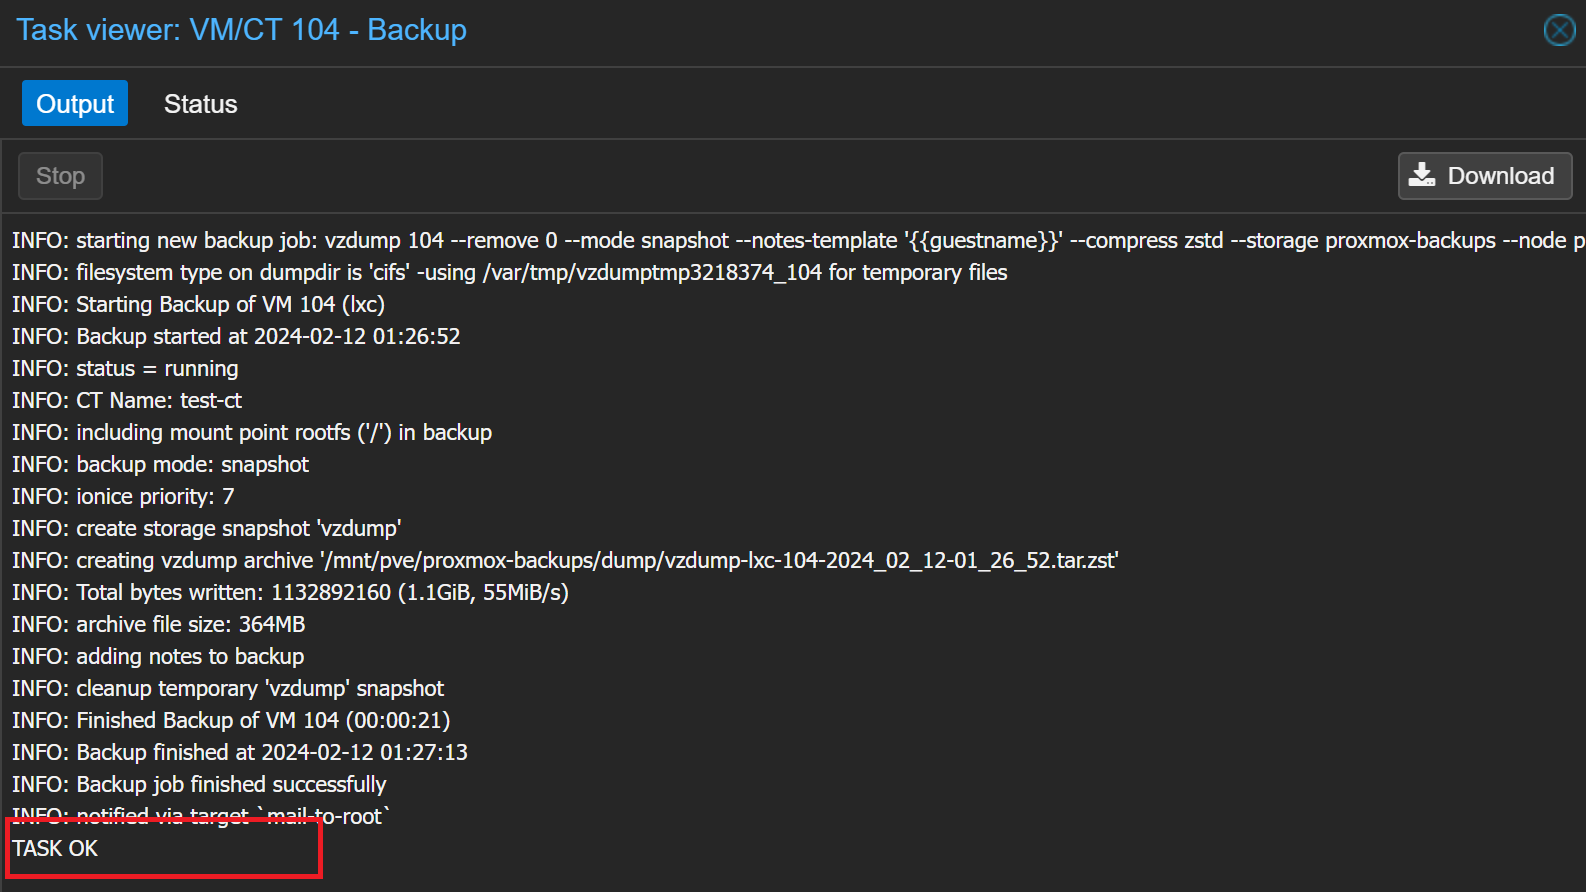
Backup succeeded!

I was also able to delete the backup as well
Solution 2: NFS
I'm listing this as Solution 2, as while it is a decent solution and doesn't open up any tremendous security gaps. Mapping the shared folder from Synlogoy as a CIFS mount would be a better idea.
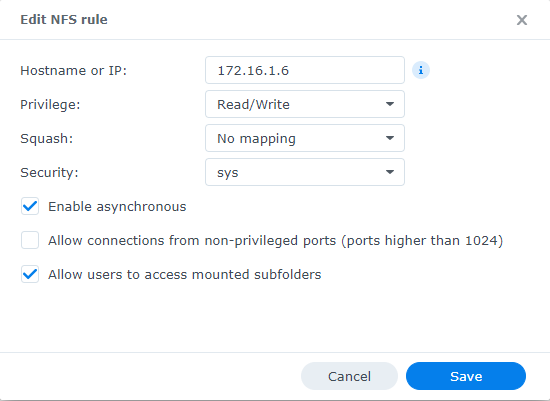
In the Control Panel, looking at the Shared Folder tab:
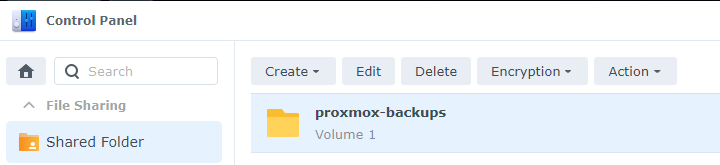
Select the designated backups folder and click Edit. Then, for the Squash option, set it to Map all users to admin and click Save.

Quick Sanity Check
You might be thinking, "Why not use map all users to guest?" Or, perhaps you're thinking, "Why not create a user group and account specifically for this task?" Both valid questions and considerations.
- To address the first question, using the Map all users to guest option would require you to give the Guest user read-write permissions on the shared folder, which is a bad idea, as that opens the share up publicly.
- As for the second question, you could certain create a PVE group and a PVE user and give this group read-write permissions on the shared folder.
- However, there is no way to mount a NFS share with credentials. Instead, you should CIFS as the storage type and enter your credentials.
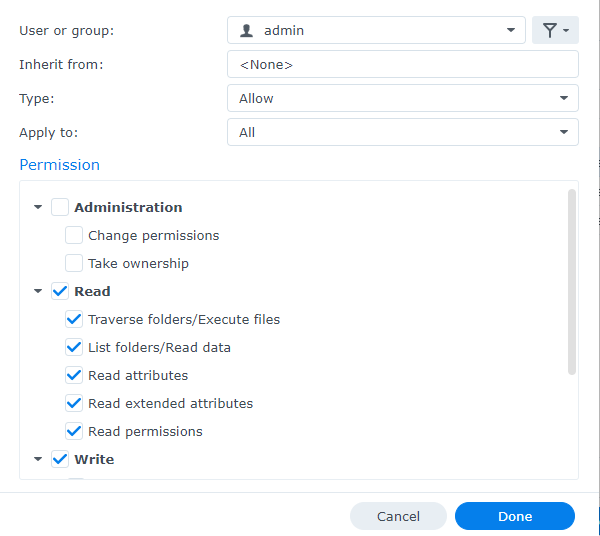
Looking at the Admin user's permissions on this shared folder, they are not overly permissive, and just enough to complete the backup jobs. Again, we're only mapping to admin for this shared folder, not the entire system.