Export a Proxmox VM to VirtualBox
Example VM
I want to export the pfsense-deleteme VM and import it into VirtualBox. The procedure can effectively be reduced to:
- Convert the VM's disk to VDI format
- Copy the VM's disk to the host running VirtualBox
- Create the VM in VirtualBox
- Attach the VDI disk from Proxmox to the VirtualBox VM
Identify the VM
qm list
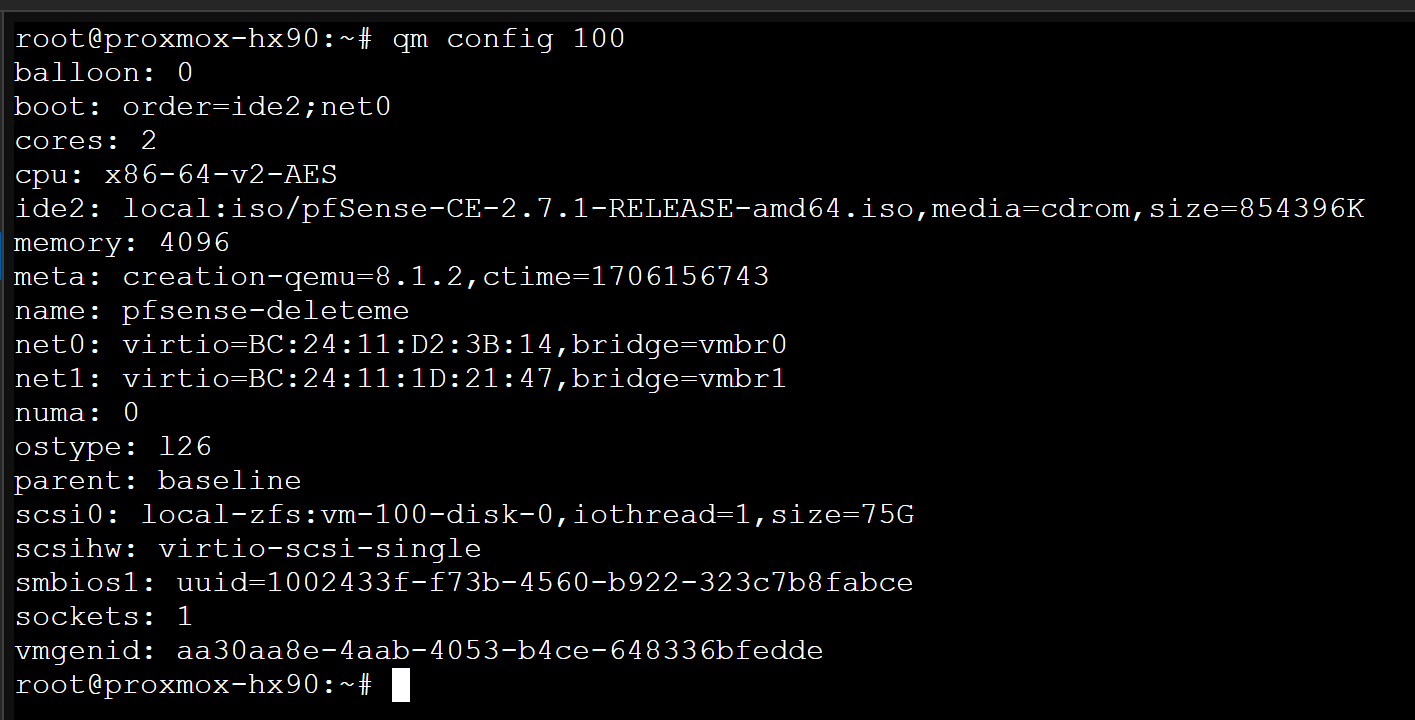
qm config <vm_id>In the output of qm config 100 we can see the scsi0 disk is stored at local-zfs:vm-100-disk-0
qm stop <vm_id>
Convert the Disk
We'll use the info from the qm config <vm_id> command before to query the path to the disk file. Namely, in this example, local-zfs:vm-100-disk-0.
First, we'll get the path to the disk using pvesm path and the volume name for scsi0 as shown above.
pvesm path volume-name:vm-???-disk-?
Next, we'll get the storage format type of the disk. We can see it is Raw format.
pvesm list volume-name --vmid <VM_ID>
Finally, we'll convert the disk to .vdi format.
qemu-img convert -f <source_format> -O <destination_format> /path/to/source /output/pathFrom qemu-img --help:
Supported formats: alloc-track backup-dump-drive blkdebug blklogwrites blkverify bochs cloop compress copy-before-write copy-on-read dmg file ftp ftps gluster host_cdrom host_device http https iscsi iser luks nbd null-aio null-co nvme parallels pbs preallocate qcow qcow2 qed quorum raw rbd replication snapshot-access throttle vdi vhdx vmdk vpc vvfat zeroinit
This command does not produce any output, so please be patient as it can take a while for large disks to convert!

We can see the conversion was a success!

Copy the File Locally
# Enter root password when prompted
# Copy /tmp/pfsense-disk.vdi to user desktop

# Windows
scp root@pve-node:/tmp/pfsense-disk.vdi C:\Users\user_name\Desktop\pfsense-disk.vdi

# Linux
scp root@pve-node:/tmp/pfsense-disk.vdi /home/user_name/Desktop/pfsense-disk.vdi
I am using -i private key authentication to my PVE node in the screenshot below


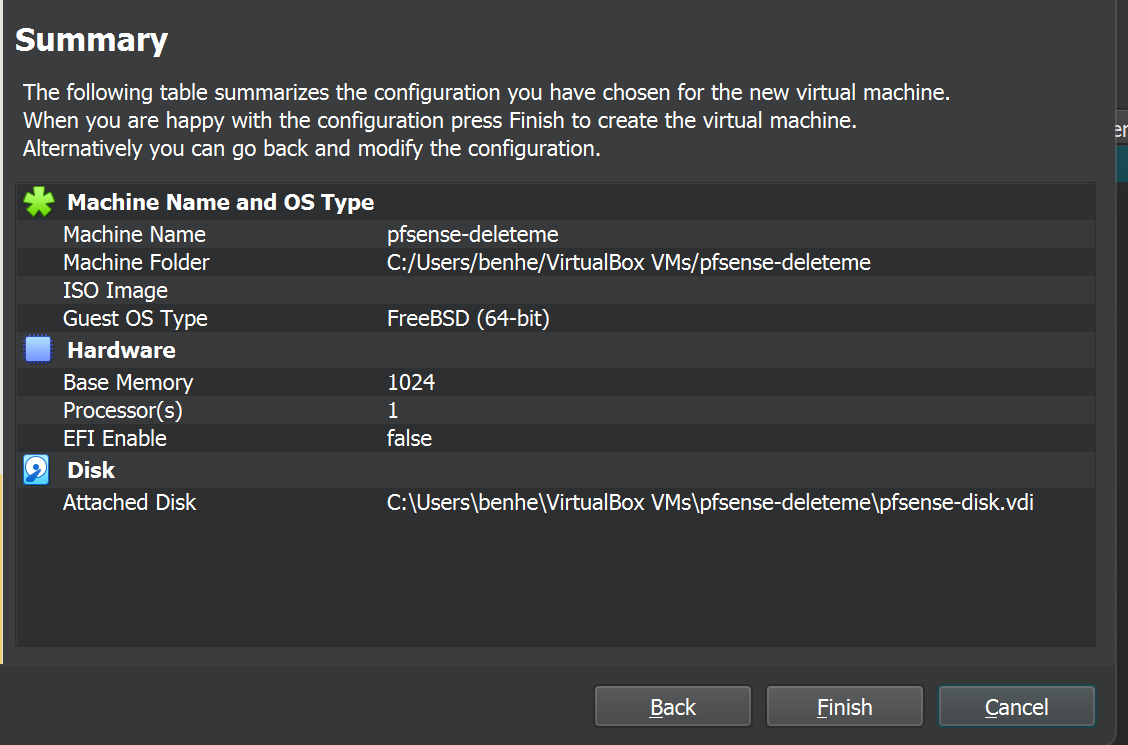
Create the VM and Attach the Disk
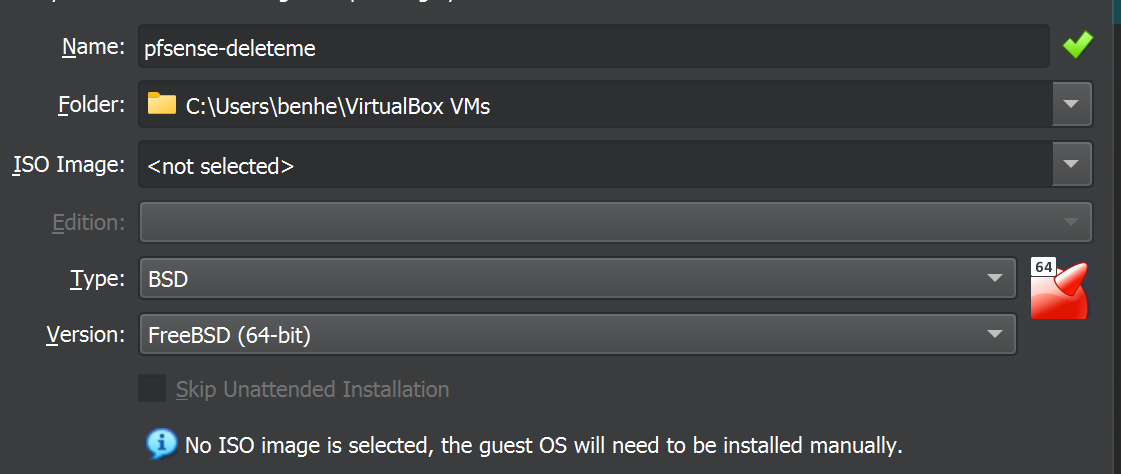
Create the VM
Set your desired CPU specifications. Click Next. Click Use an Existing Virtual Hard Drive File and click the folder icon.


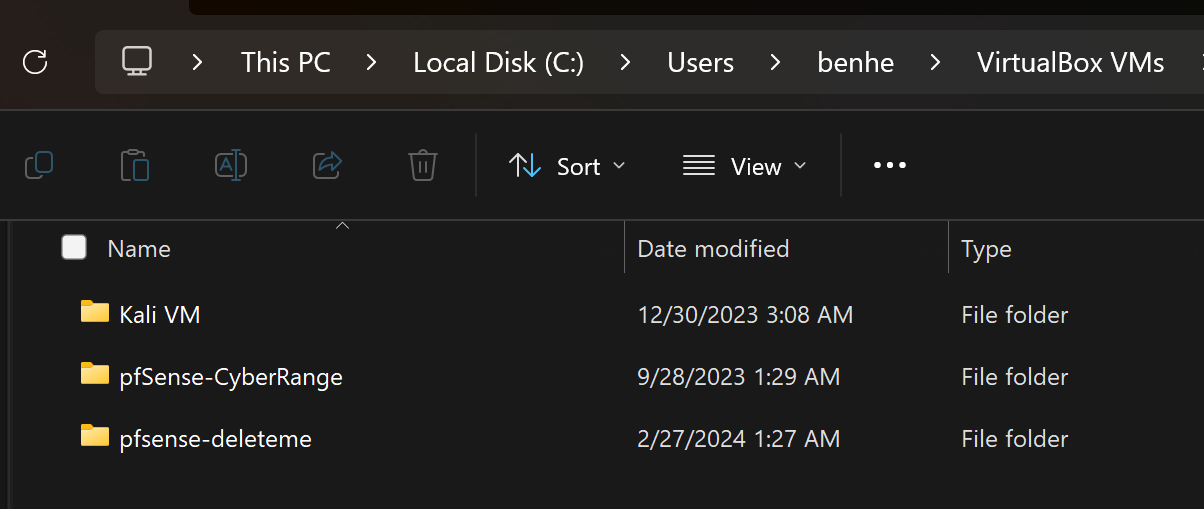
Momentarily open your file explorer and move the .vdi file to the VM's destination. Right-click the .vdi and choose Cut.
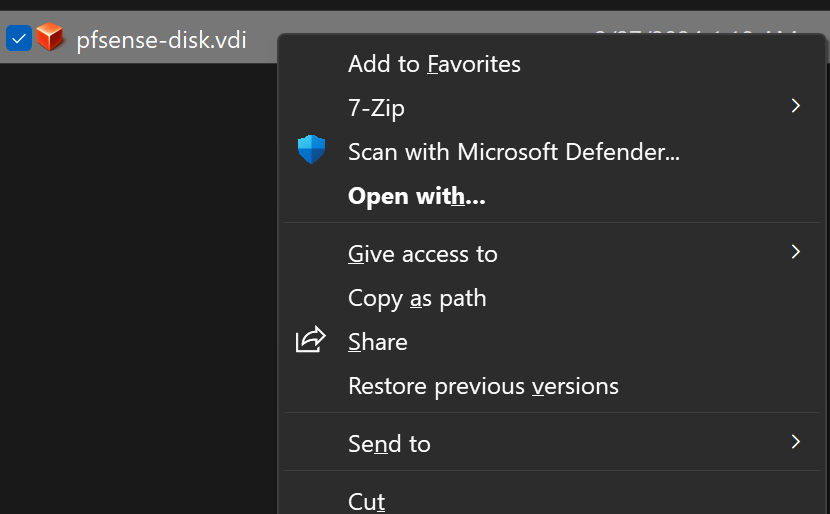
Open C:\Users\user_name\VirtualBox VMs and open the folder for your target VM. Paste the file in the target folder.
Now, go back to your VM creation dialog. Click Add.
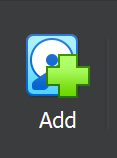
Choose your .vdi file from this prompt. Then click Choose.
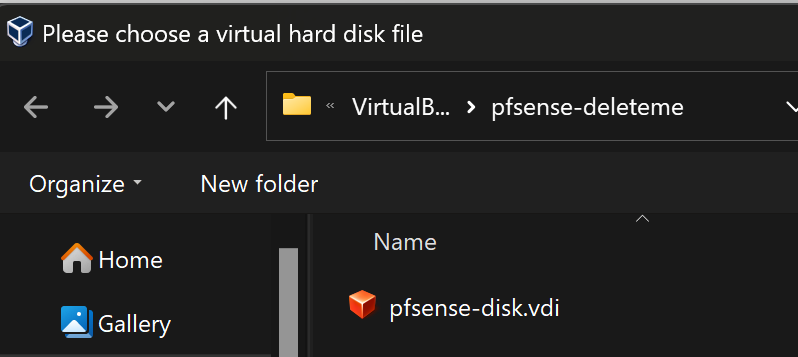
Click Next.
Click Finish
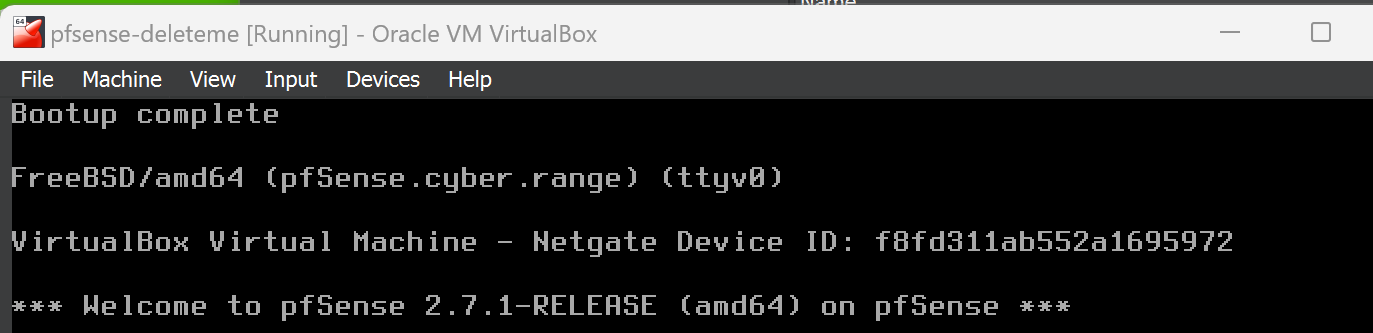
Test the VM